Text Quickie - WireFrame 3D Text
This is a quick text effect tutorial on how to make a 3D wireframe effect, I will show you the basic principle of how to get the effect and will then leave you to experiment with the other letters,
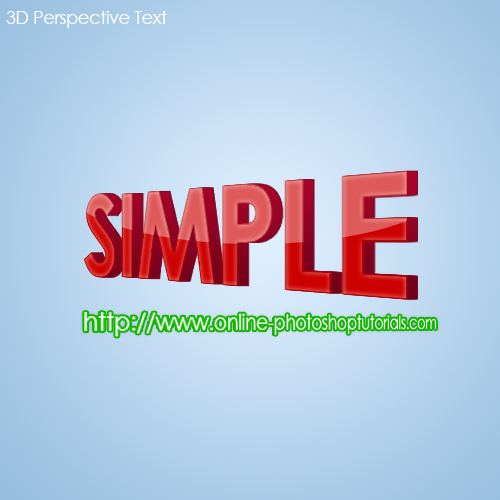
What We Are Going To Achieve

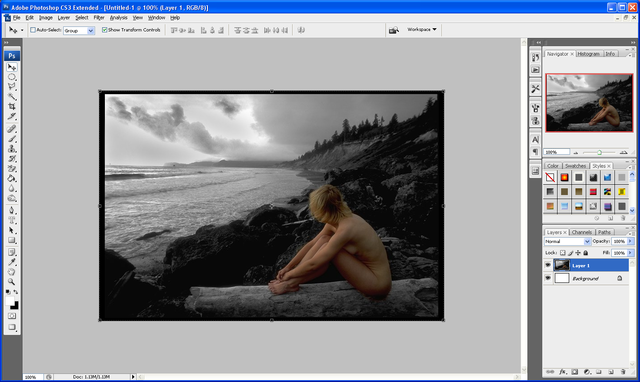
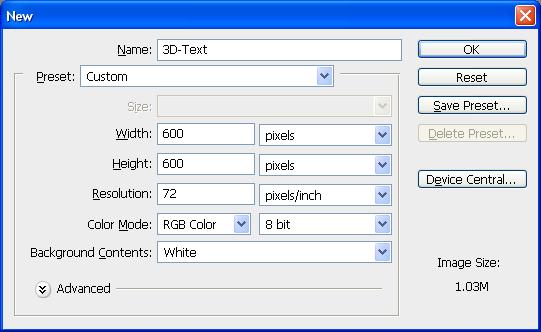
Step 1 - New Document
As always create a new document any size thats suitable for you, and fill with a colour that you want (White works better for this effect)
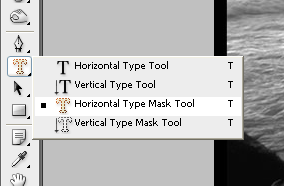
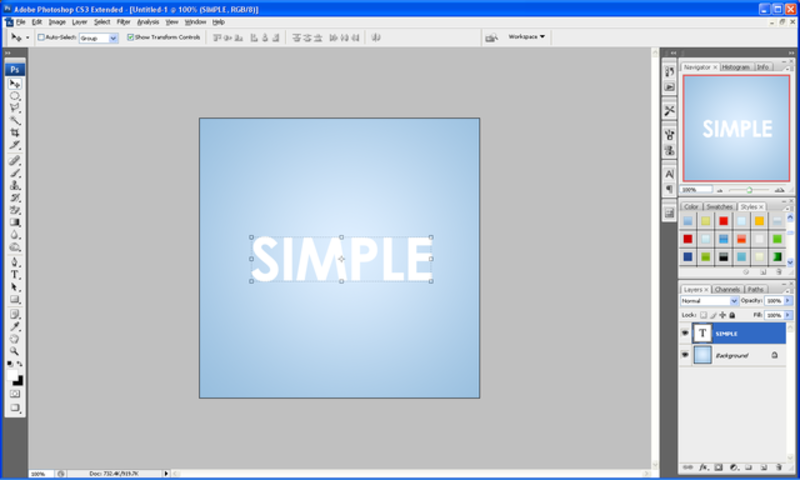
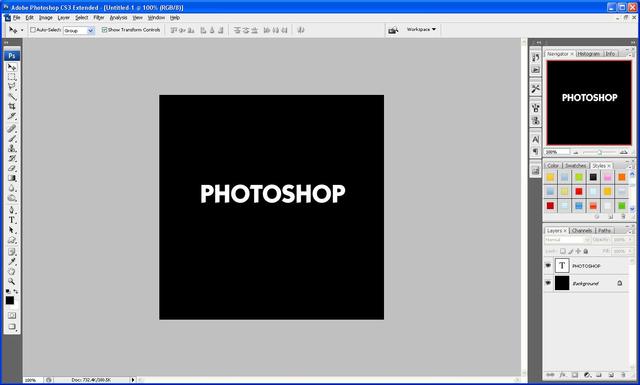
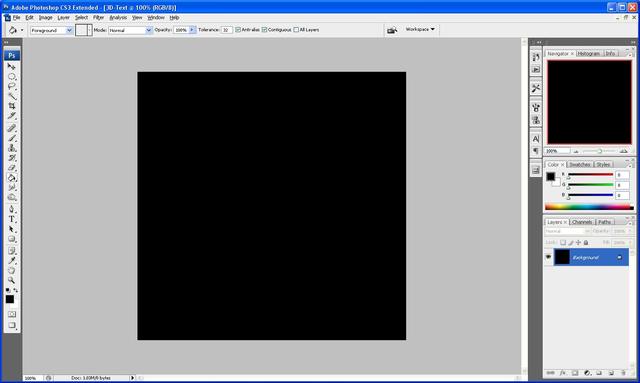
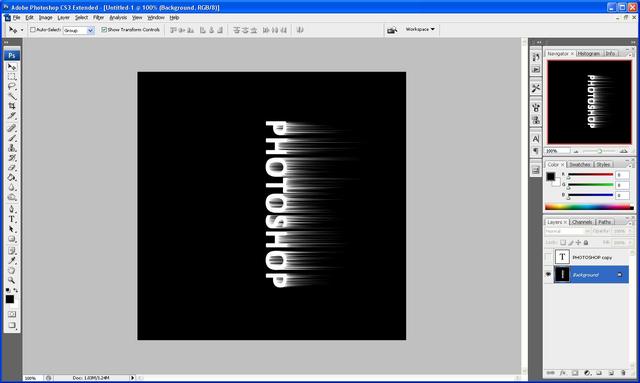
Step 2 - Writing The Letter
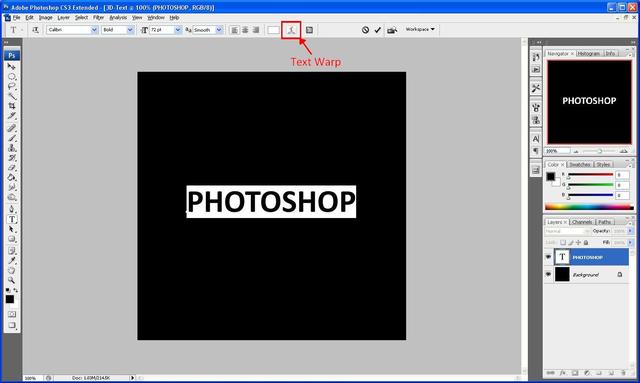
First of all pick the text tool and make sure that your foreground/text colour is the same as your background so it is basically invisible, so dont worry that you dont see the letter but make sure that is in the layers tab,

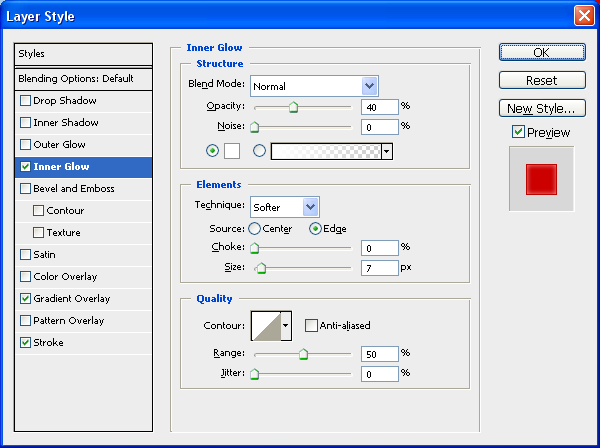
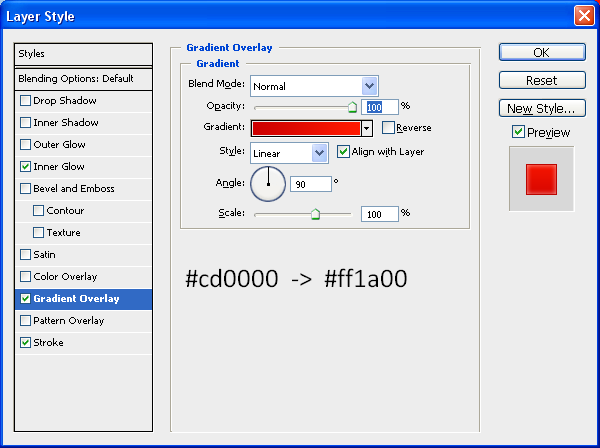
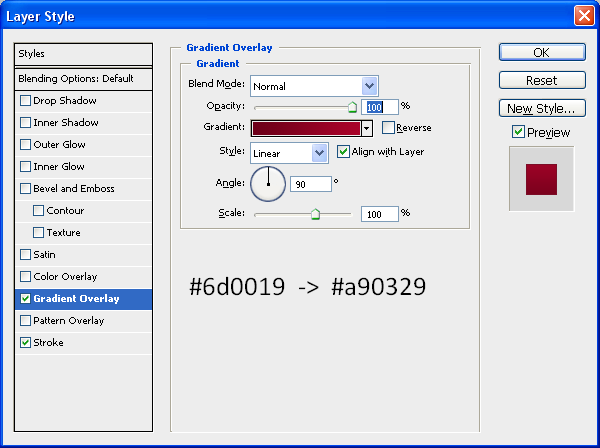
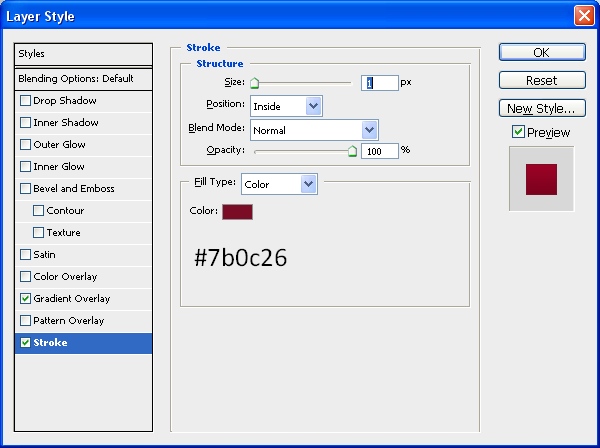
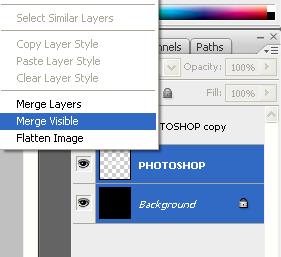
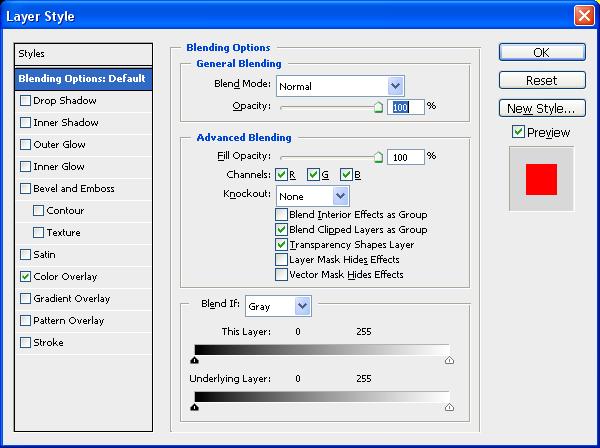
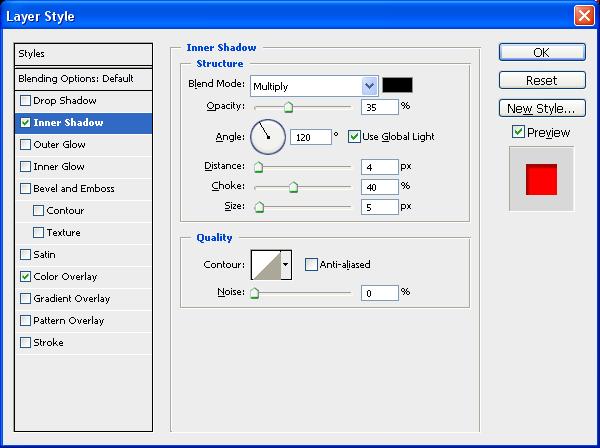
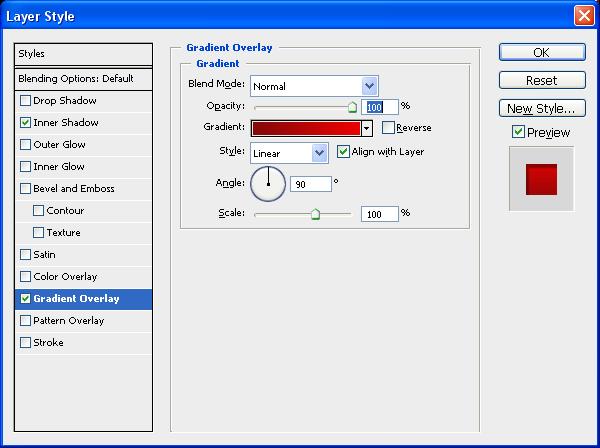
Step 3 - Adding The Stroke (Blending Options)
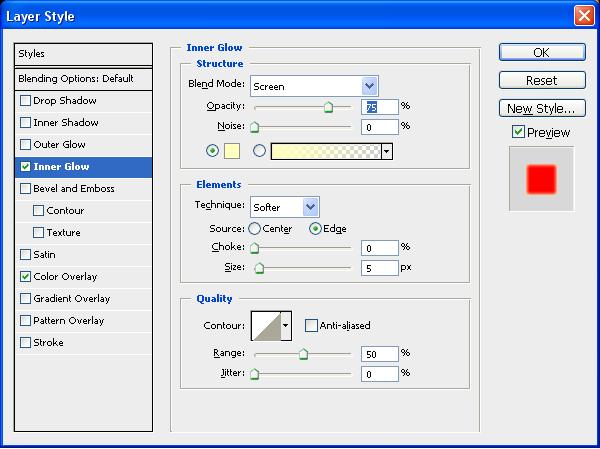
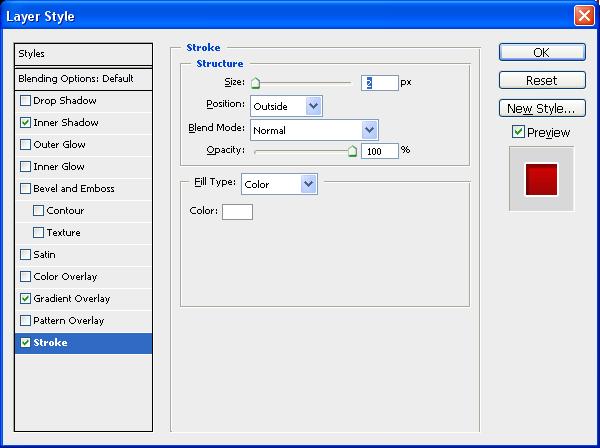
We need to add a stroke to the letter so there is an outline to the letter, so we need to open up the blending options menu (double click the layer in the layers tab) and add the following stroke option:

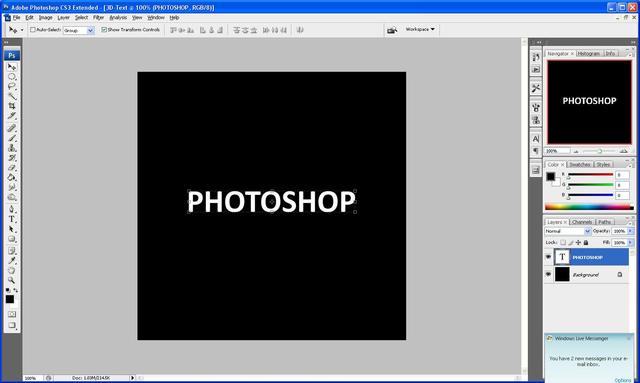
Now you need to make the letter invisible but keep the outline so in the layers tab set the fill to 0% this means that the inner part of the letter is made invisible but the stroke it kept as it is:

When these 2 settings have been applied then you will have an outcome like below:

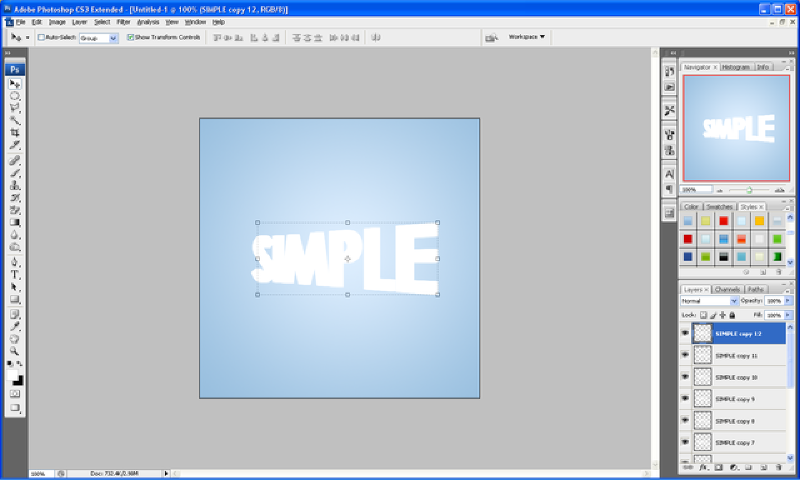
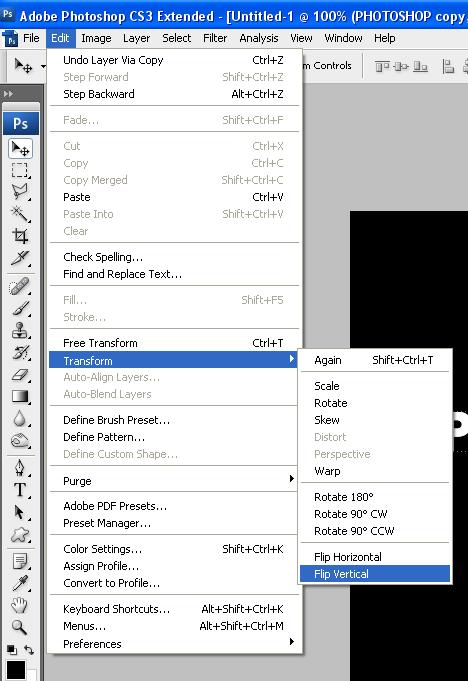
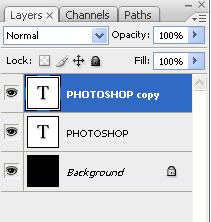
Step 4 - Create the 3D Effect
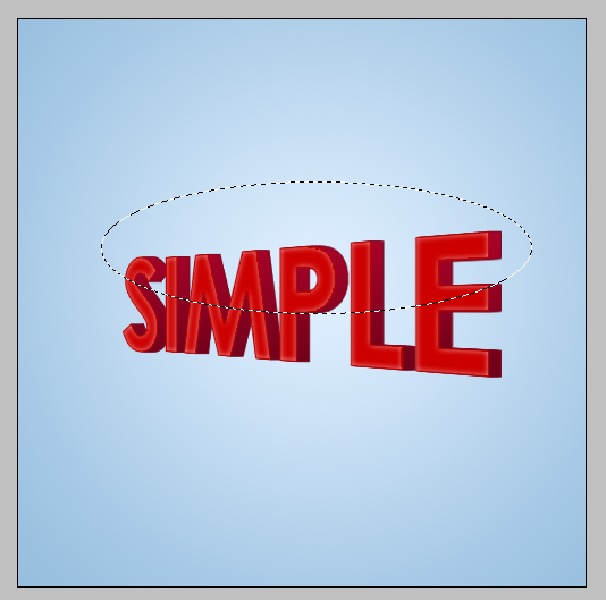
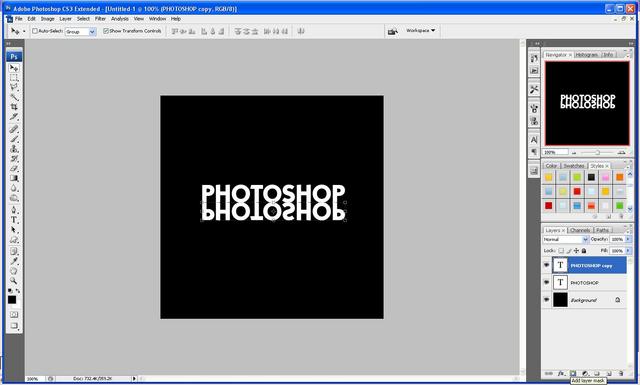
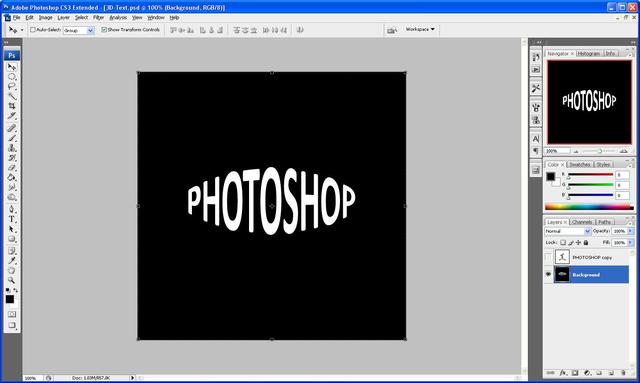
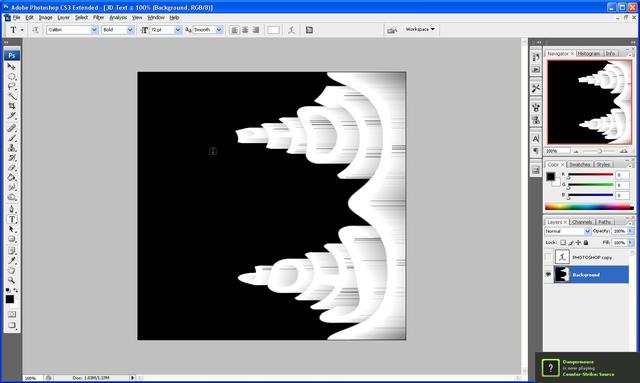
Now to make the 3D effect you need to make sure that you have the text layer selected and then press CTRL + J to duplicate the layer with the duplicated layer selected then press the down arrow and the right arrow a few times (down, right, down, right etc…) until you have something similar to below:

Now that we have this done we need to move onto the final step of the first letter:
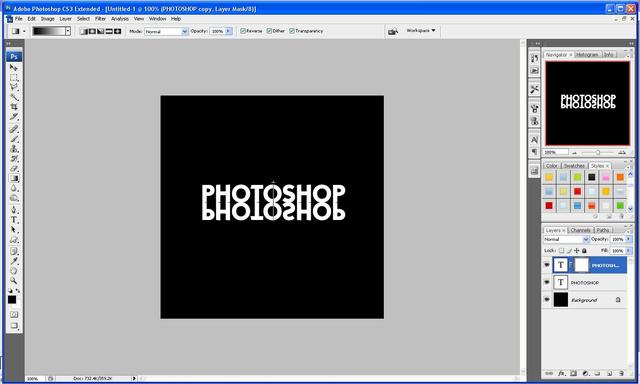
Step 5 - Connecting The Two Layers
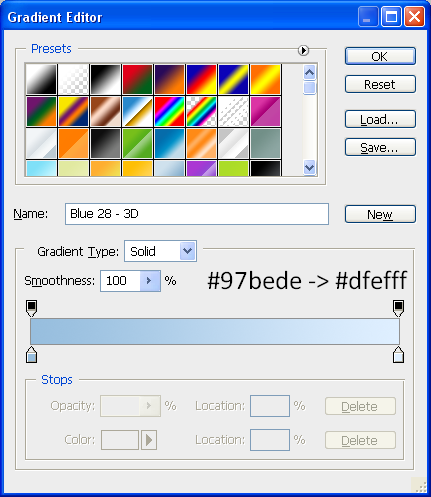
In order to make the text look 3D we need to connect all of the corners together, to do this we use the pen tool and make sure the top toolbar looks like this:
![]()
And also make sure that you foreground colour is the same as the stroke colour (#DDDDDD) and then create a new layer (CTRL + SHIFT + N) and then draw a line like below:
Top Left:

And then right click and choose “Stroke Path” this will make the path into a straight line:

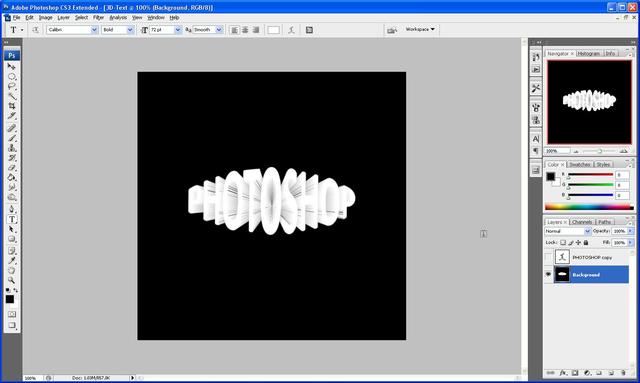
Press CTRL + SHIFT + H to hide the path so that you have the same as above, now do the same on all of the other corners, you can do it all on one layer all you can make a seperate layer for each new path line so that they can be moved easier after, when you are done connecting all of the lines then you will have something similar to below:

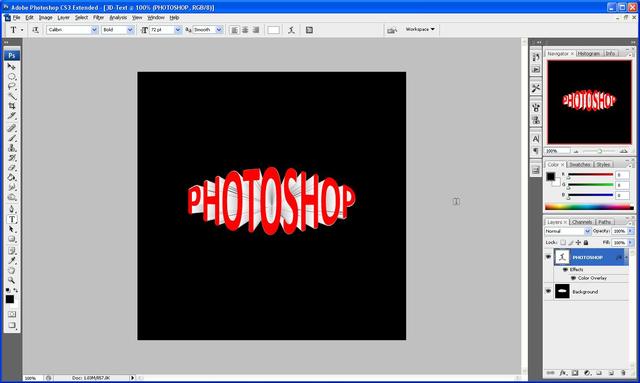
So using these basic principles you can apply them to other letters and create cool words and a abit of difference to your text, using these steps I made the below:
It would be cool to see what you come up with so feel free to upload them to the Photoshop Tutorials Flickr Group and leave me a comment to say when you have uploaded one so people can comment on them,
And as always if you have any problems with this tutorial then don’t hesitate to leave me a comment or email me at: stevie489@googlemail.com and I will help you as much as I can…


