Creating 3D Text in Photoshop
This tutorial is a simple but effective way to create 3D text using only Photoshop. Easy to follow tutorial with alot of detail, outcome is good and cathces the eye well!
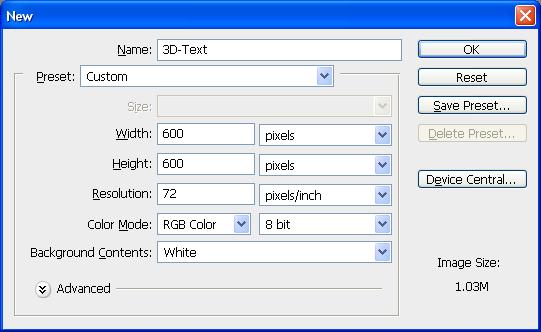
Step 1: First of all open up a new Photoshop document with the sizes: 600 width and 600 height as shown below:
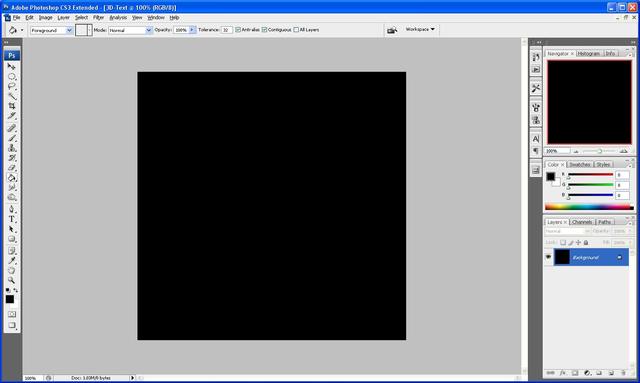
Step 2: Next fill the background Black using the fill tool (Paint bucket)
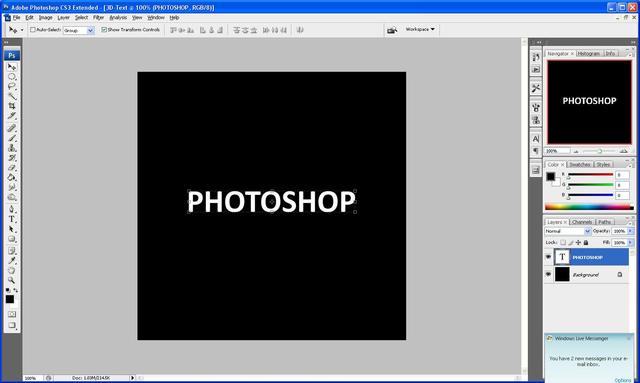
Step 3: Now we need to add the text I am going to use the text “Photoshop” but you can use whatever text you want to.
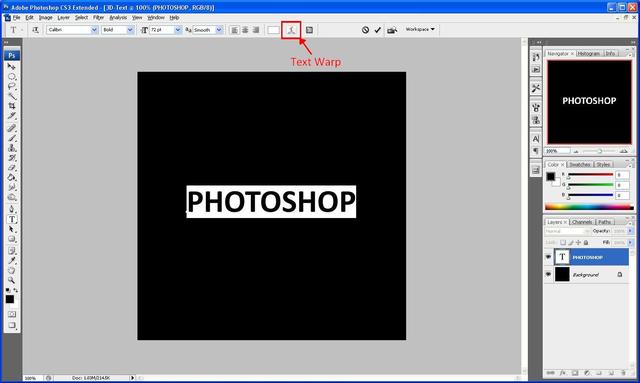
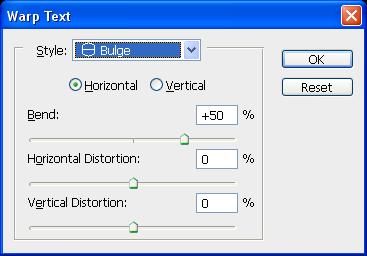
Step 4: Next we need to “Bulge” the text using the “Text Warp” tool as highlighted below:
Step 5: We then select bulge from the menu that appears and use the below settings:
And we should get the result as shown below:
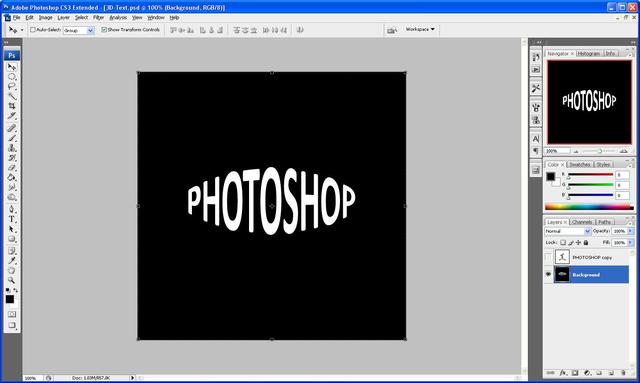
Step 6: Next we need to duplicate the text layer so that we have two layers of text, but we need to hide the copied layer because we do not need to use that at the moment (so click the “eye” next to the layer which will hide it) now we need to group the visible layers so that the original text layer and the background layer are on one layer, to do this you need to go to Layer > Merge Visible alternatively you can press “Ctrl+Shift+E” which will do the same job. So that you are left with something that looks like the image below:
Step 7: With the Original layer (Background layer) selected go to Filter > Distort > Polar Coordinates and use the settings below:
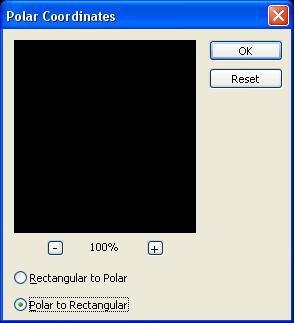
Then click OK which will give you something that looks like the below image:
Step 8: Now go to Image > Rotate Canvas > 90 CW this will then rotate the canvas, then you need to go to Filter > Stylize > Wind and use the settings as shown in the below image:

After you press ok press Ctrl+F ten times which will repeat the wind filter ten times to give you something which looks like this:
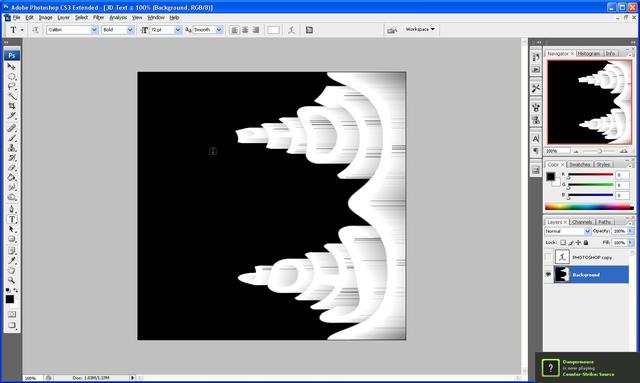
Step 9: Now you need to rotate the canvas back to how it was before so go to Image > Rotate Canvas > 90 CCW which will give make the canvas rotate to its original position and now we need to reverse the Polar Coordinates so that it is how it was, so go to Filter > Distort > Polar Coordinates and choose Rectangular To Polar which will reverse the one that you did before, and you should end up with something like the below image (if not then check back to make sure that you have done everything ok up to now)
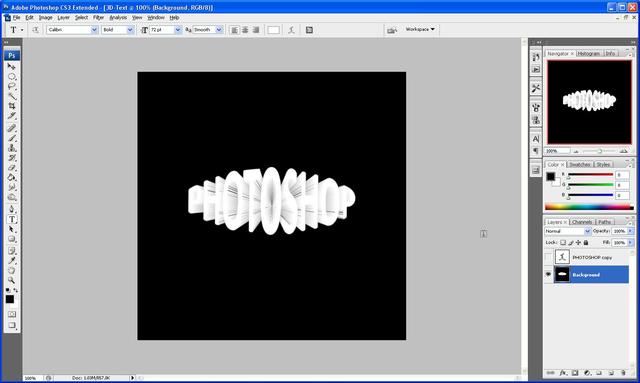
Step 10: Now comes the stage where we need to unhide the copied text layer so click where the eye was and it should reappear (but if you did the text in white you won’t be able to see it, so just change the colour of the text by highlighting it and changing the colour) and you should now see it like below:
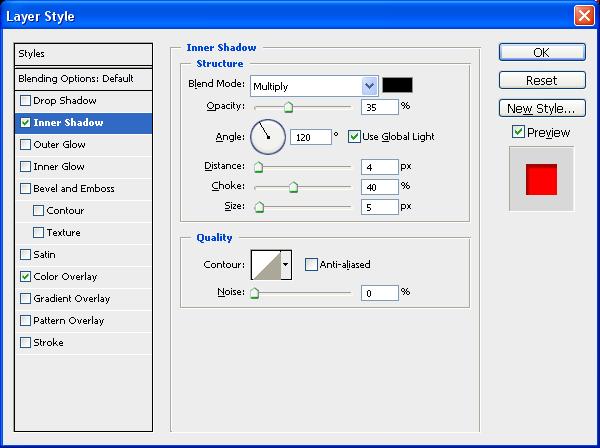
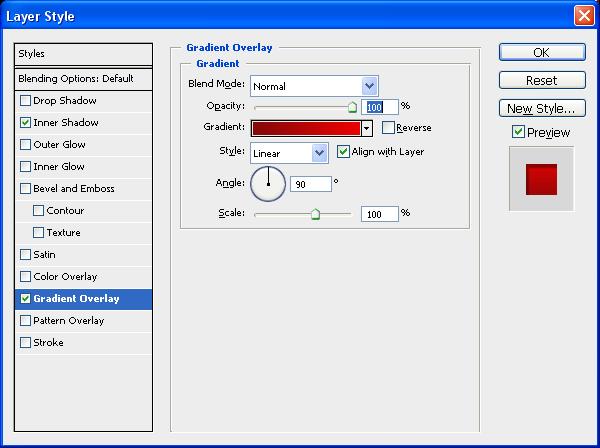
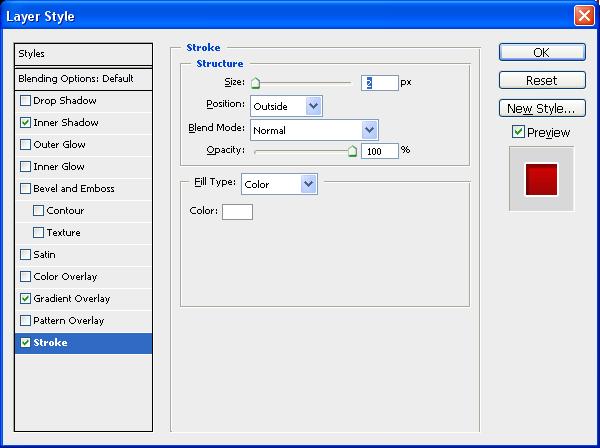
Step 11: Now all we need to do to finish is add a few “Blending Options” to access them either double click on the layer itself or go to Layer > Layer Style > Blending Options once the window opens up use the below setting as shown and you should get the final outcome (I chose red but you can use any colour that you want to)
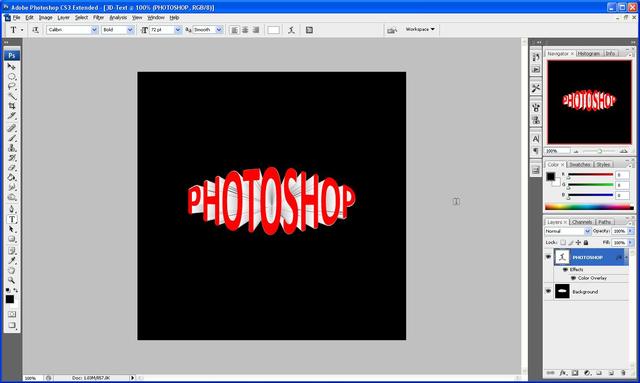
If you do all of this correctly then you should get something that looks like the image below:

Thank you for reading and I hope that this tutorial has helped you, if you have any problems with this then don’t hesitate to contact me, either leave a comment or send me an email to stevie489@googlemail.com and I will respond ASAP.


