How To Use The Extract Filter
This Tutorial explains how to properly use the “Extract Filter” in Photoshop
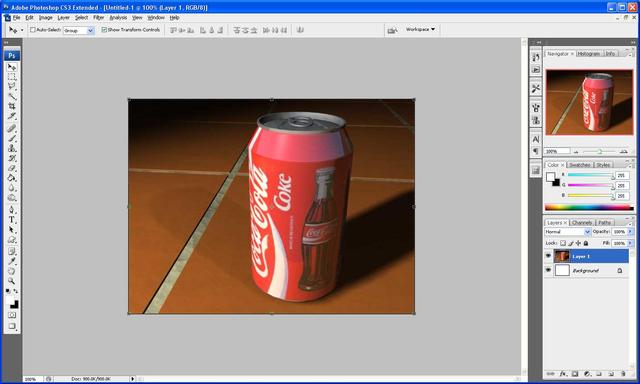
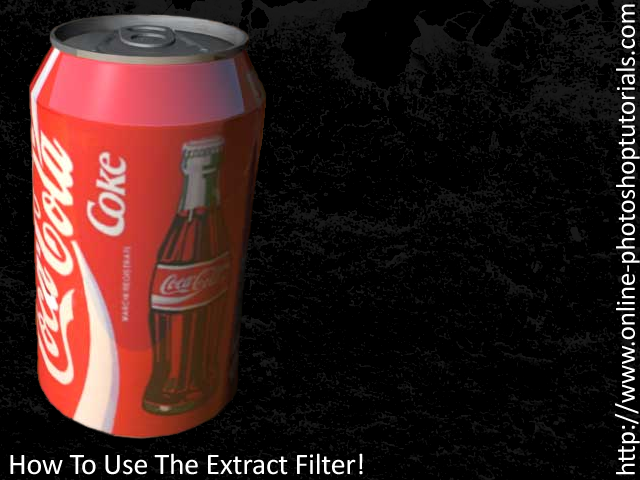
Step 1: First of all get the image that you want to extract loaded up onto Photoshop, for this tutorials I am going to extract this Coca Cola Can from it’s background and place it on a black background.
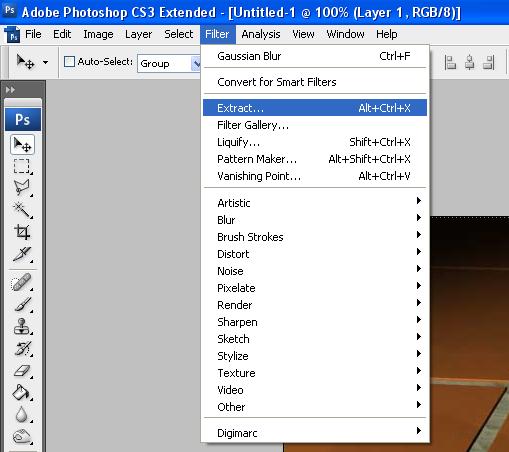
Step 2: Next go to Filter > Extract and wait for the filter to load.
Step 3: This is where we start to extract the image first of all zoom into the image so you can clearly see the outline and set the brush size to a suitable size and then simply draw around the outline of the coke can so that there are no gaps.
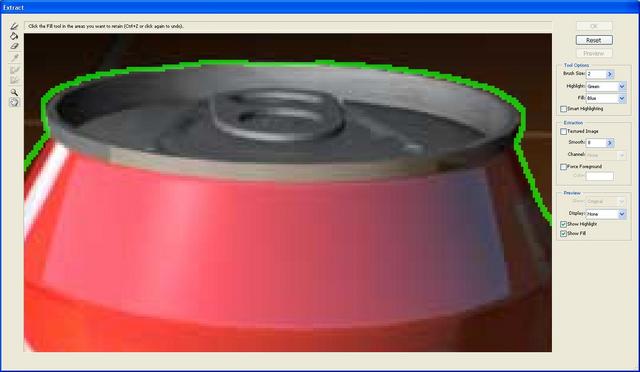
Step 4: Now we can fill in the area which we want extracting to do this select the bucket/fill tool on the left hand toolbar and simply click inside of the drawn outline.
Step 5: Now press “OK” in the top right of the window and you should go back to the normal photoshop window, and if you did the last steps correctly you will have an image of a coke can without a background, if all done correct the edges will look fine, if not then you may find some discrepancies which can simply be erased.
Step 6: Finally fill in the background with a black colour and add some text to give you the final image.
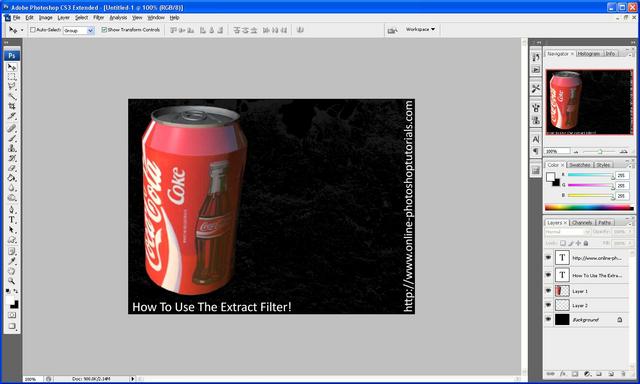
Final Image:
Hope this has helped, if you have any problems with this tutorial then feel free to e-mail me or leave me a comment and I will respond ASAP


