The “Love Design” iPhone Wallpaper
This tutorial will teach you how to make a cool “Love Design” wallpaper for you iPhone, obviously not everyone has an iPhone so if you wanted you could use the techniques and scale it up to a wallpaper for you desktop for instance, the main idea is to teach you how to get cool effects.
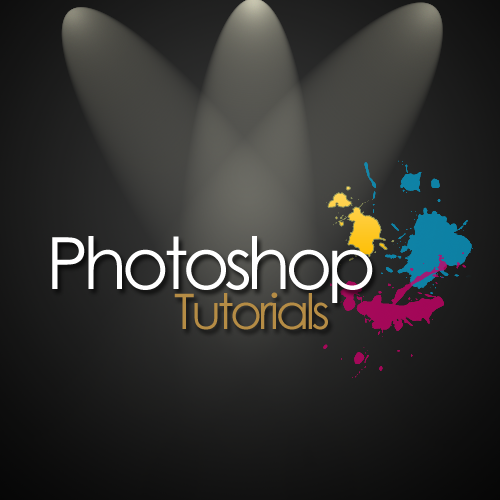
This is what we will be making:

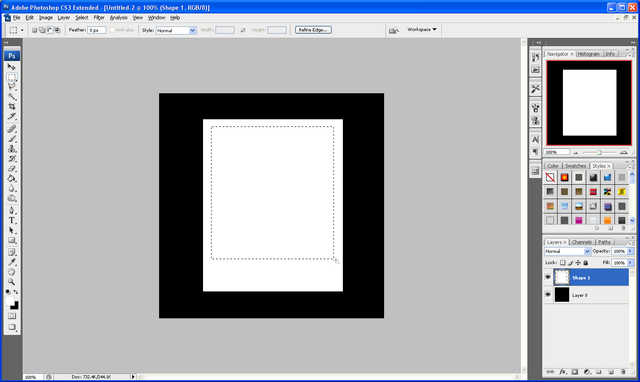
Step 1 - New Document
First of all we need to create a new docurment, with the sizes 320 x 480 (W x H) in pixels, this is size needed for it to fit on the iPhone screen and leave all other settings as default.
Step 2 - Gradient Background
Next we need to create a gradient on the background layer, to do this select the gradient tool in the left hand toolbar and use the below colours:

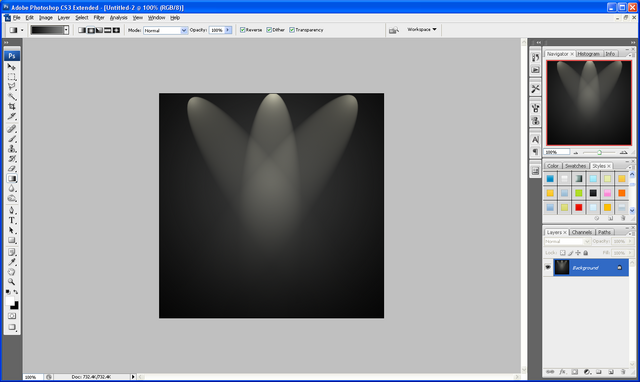
And make sure that the radial gradient is selected, when this is done click in the middle and drag to any corner of the canvas and let go to get your gradient like below:

Step 3 - Draw First Rectangle
When this is done, make sure the primary colour is set to #931D1D and draw a rectangle across the canvas as shown below:

Step 4 - Shadowing
Now we need to create some shadowing to do this set the primary colour to #D5C38A and draw a rectangle in the same way you did with the first one but draw it a lot thinner and at the top of the first one as below:

When this is done press (CTRL +J) to make a direct copy of the selected layer and move it to the same place but at the bottom of the first rectangle as below:

With this done, select the first small rectangle you drew and go to Filters > Blur > Gaussian Blur and set it to 3, and then do this process again with the second small rectangle and you should have something like this when done:

Step 5 - Adding The “Love Heart”
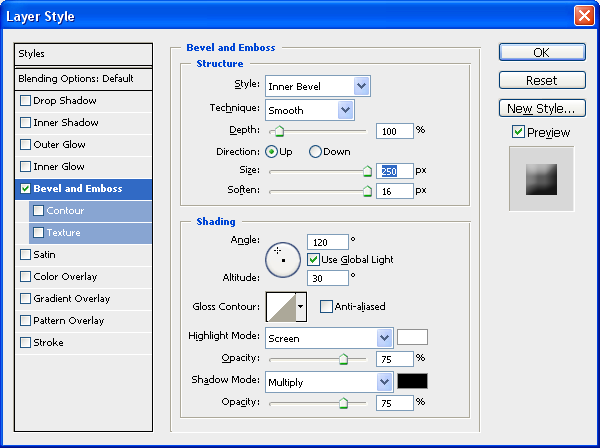
Next we need to get the heart, I did a quick Google search for “love heart” and found a suitable one so I put it into the document and resized it to fit where I wanted it to go, after this use these settings below using the blending options to get the right colour and effects:
Inner Shadow

Color Overlay

When these are done you should be left with something like this:

Step 6 - Creating A Square
Next we need to create the box that goes behind the heart this is simple, choose the rectangle tool again and set the primary colour to #690F0F and hold shift and click and drag a box around your heart so that the heart fits nicely inside the box as below:

Once you are happy with the size put the below settings on the layer using the blending options:
Drop Shadow

Once these are done you should be left with the below:

Step 7 - Add The “Design” Text
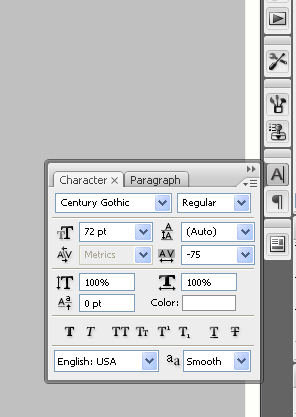
Next we need to add the design text, this is simple pick the text tool on the sidebar and select the Arial font and make sure it is bold, next to where you have placed your heart click and write the word “Design” when this is done use the settings below (again using the blending options) to get the right effect:

When this is done you will have something like this:

Step 8 - More Shadowing
The penultimate step is to create some darker patches at the top and the bottom of the original rectangle this is again to give the idea of shading, to do this do the same as the other two small rectangles (Step 4) but use the colour # 801B1B and place them just inside the top and bottom of the original rectangle:

When this is done again apply a Gaussian blur of 2 with this done you will have this:

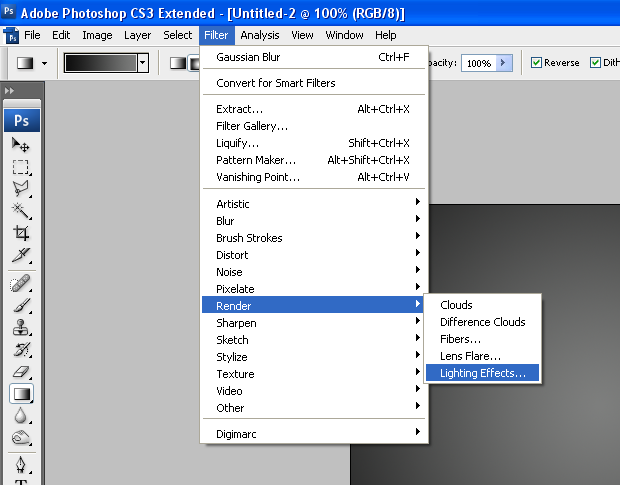
Step 9 - Adding Texture
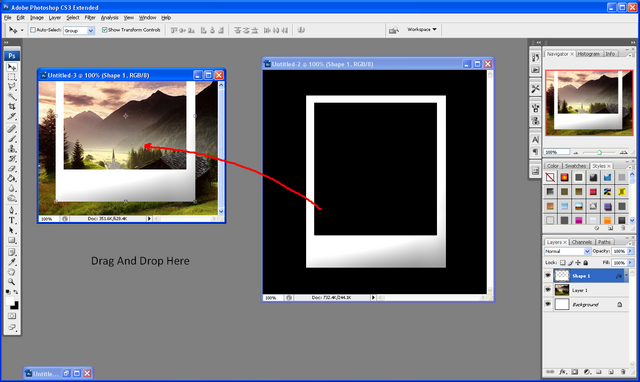
The final step is what makes this wallpaper comes and alive, as we all know textures make things jump out and give things depth, so what we are going to do is add a texture I again found THIS cool texture, of paint on a canvas, copy this and paste it onto the canvas and place around this area (with the top left of the image in the top left of the canvas)

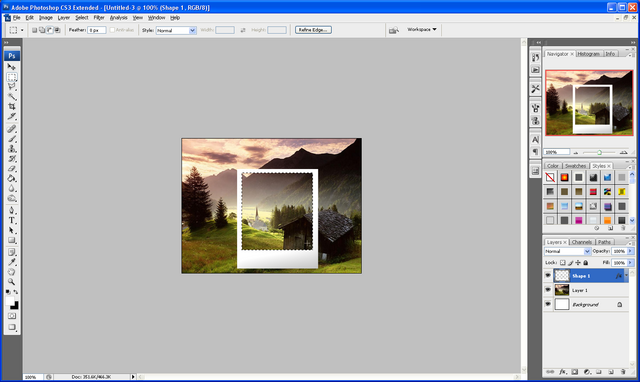
With this in place make sure the texture layer is selected and go to Image > Adjustments > Black & White and then set the layer mode to Color Burn this will give you the finished wallpaper as shown below:
iPhone Test
Also below is what the wallpaper will look like on the iPhone:

If you want to know how to make the iPhone itself, leave a comment on this tutorial and if enough people want to see how it’s done then I will make it for the next tutorial.
It would be cool to see what you come up with so feel free to upload them to the Photoshop Tutorials Flickr Group and leave me a comment to say when you have uploaded one so people can comment on them,
And as always if you have any problems with this tutorial then don’t hesitate to leave me a comment or head over to the Online-Photoshop Tutorials Forums and post in the Tutorials Problems section and I and others will be able to help you.