Bringing Backgrounds To Life Part 1
OK my first tutorial for quite a while now, after successfully securing a place in university I am ready to start posting again whilst looking for a decent host for my new website design (any help appreciated) to get me back into the swing of things I am going to do a relatively easy tutorial to start with, but one I think is very useful when making any type of image that looks a bit plain and boring, the best way to make these sorts of images look better is to simply apply a texture over the top of your background or specific part of the document (e.g. Text) and it is much easier than you may think
Applying a Texture to a Background.
Step 1 - Make a Gradient
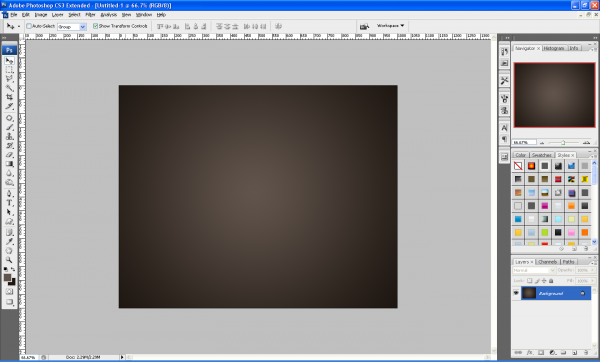
First of all below we have the plain and boring background which I made with neutral colours and a simple lighting effect (Filter > Render > Lighting Effects) in the middle of the canvas.
Step 2 - Drag And Drop Texture Onto Background
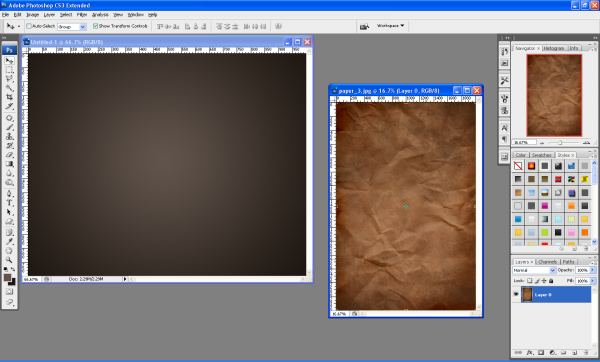
Next we simply open up the texture we want to use and drag and drop it on the background we are using (make sure the texture layer shows “Layer 0” or something similar and not “Background” if this is the case double click the layer and then click OK)
Step 3 - Desaturate The Texture
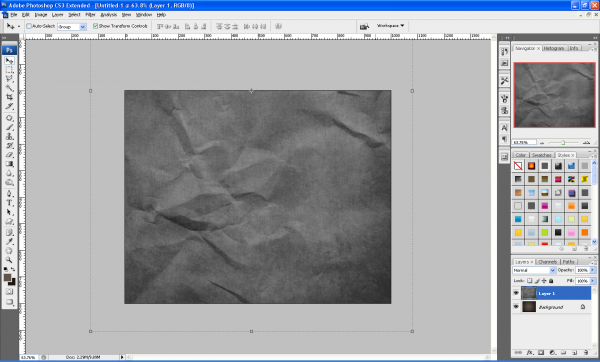
Next position the texture on the canvas so you get the desired effect and then press CTRL + SHIFT + U this combination will desaturate the selected layer / texture
Step 4 - Set Layer Style To Overlay
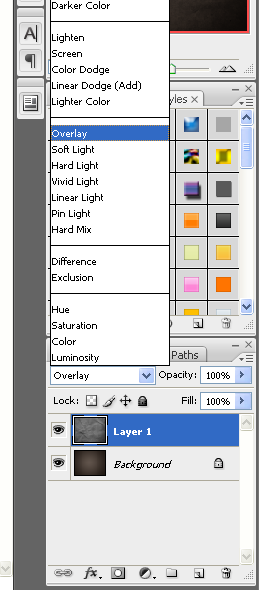
Now set the layer style to “Overlay” as shown below and adjust the opacity accordingly to get the effect (depth of detail) that you want.
Step 5 - Finished
And now the plain and boring background is brought to life by simply adding a texture which adds depth to the image.
This tutorial is the first part of a series that will explain how else you can bring your images/backgrounds to life, sign up to the RSS feed to receive updates when these tutorials are released,
The texture used in this tutorial is available HERE along with 3 other paper style textures,
If you have had any problems with this tutorial and would like some help then don’t hesitate to contact me either by leaving a comment below, or e-mailing me at: stevie489@googlemail.com
