Creating "Firey" Text In Photoshop
This tutorial will show you how to create a firey text style using very simple techniques took me around 10 minutes to complete.
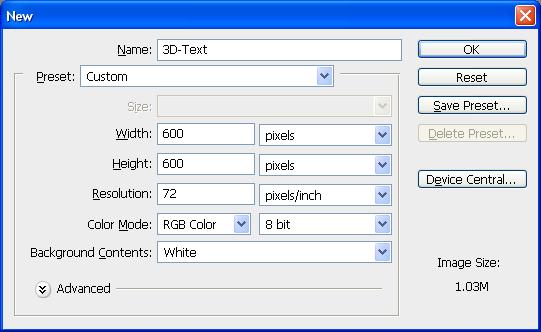
Step 1: First of all open up a new Photoshop document with the sizes: 600 width and 600 height as shown below:
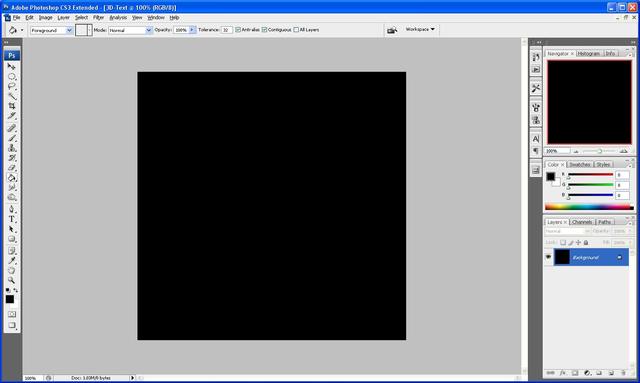
Step 2: Next fill the background Black using the fill tool (Paint bucket)
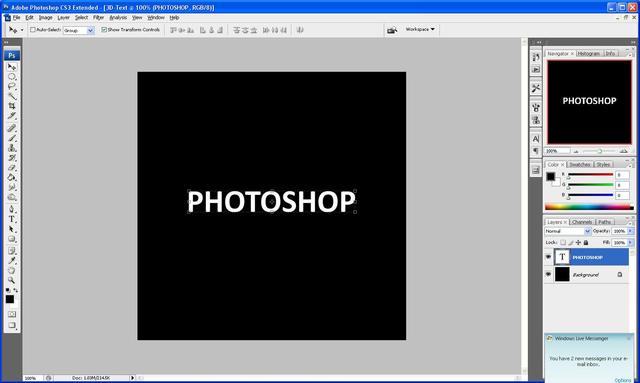
Step 3: Now we need to add the text I am going to use the text “Photoshop” but you can use whatever text you want to.
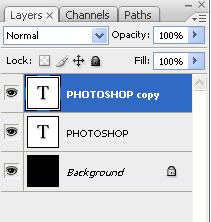
Step 4: Now you need to duplicate the layer with the text on it (Ctrl + J) when this is done we need to hide the copied layer as we do not need it at the minute to do this click the “eye” next to the layer which will hide it for now.
Step 5: Now rasterize the original text layer to do this right click the layer and click on “rasterize type” this will change it to pixels instead of text.
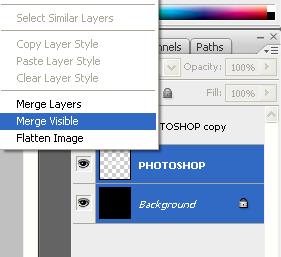
Step 6: Next select both the background layer and the original text layer and right click and press “Merge visible” as shown below:
Step 7: Now we need to rotate the canvas in order to successfully the next filter, to do this click, Image > Rotate Canvas > 90 CW and this should rotate the canvas to the right.
Step 8: Now we need to add the wind effect to do this click Filter > Stylize > Wind when the menu pops up choose from the left and press ok, when it applies it press Ctrl + F twice this will repeat the process twice and give you bigger flames:
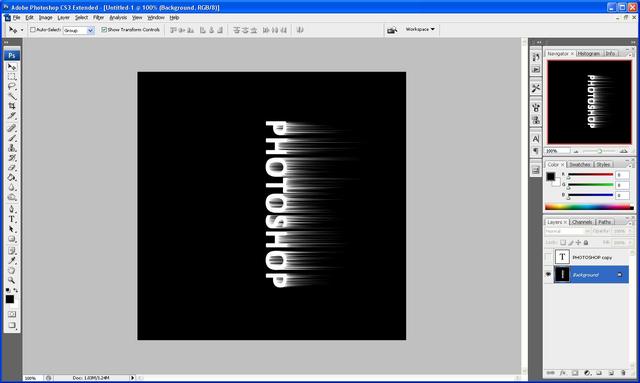
Step 8: When the wind has been applied then rotate the canvas back to normal to do this simply go to Image > Rotate Canvas > 90 CWW which should rotate it back to the original way:
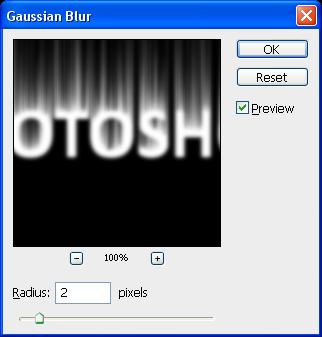
Step 9: Next we need to add a gaussian blur to do this go to Filter > Blur > Gaussian Blur and set it to blur 2 pixels which should be ideal for the amount we need:
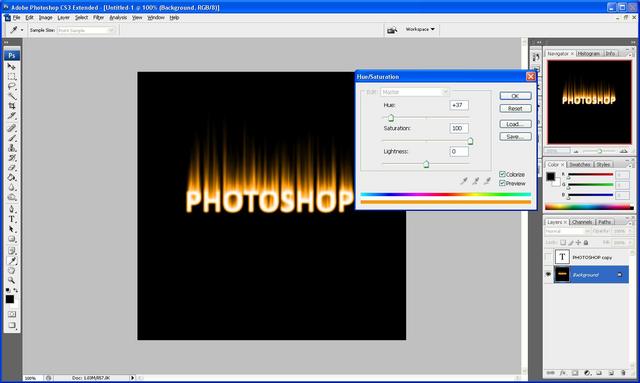
Step 10: Now go to Image > Adjustments > Hue/Saturation this will change the colour of the flames so they look firey, set it to the settings as shown below (make sure colorize is ticked) and then press ok:
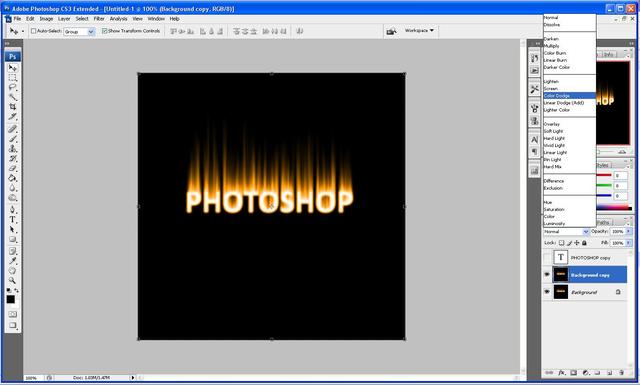
Step 11: Now duplicate this layer again by pressing Ctrl + J and then set it to Color Dodge as shown below and then right click on the new layer and click “merge down”:
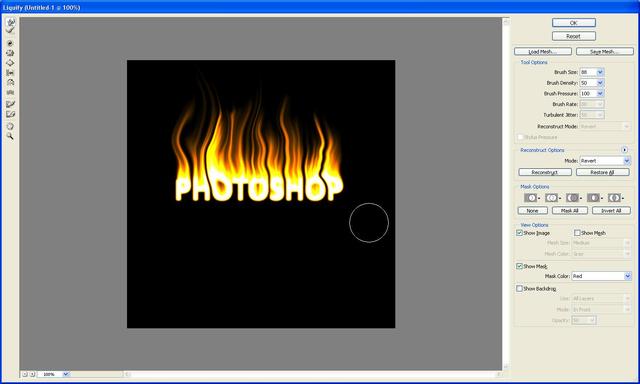
Step 12: Now with the original layer still chosen go Filter > Liquify here is where we make the flames of the fire, simply set the brush size to whatever you want and make the flames by clicking and dragging slightly left to right all the way up on each flame so that you get the result you want, this is where you can customize the size of the flames you want, as mine is shown below:
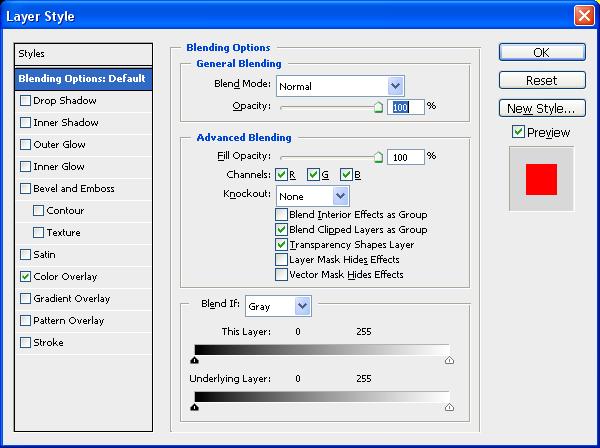
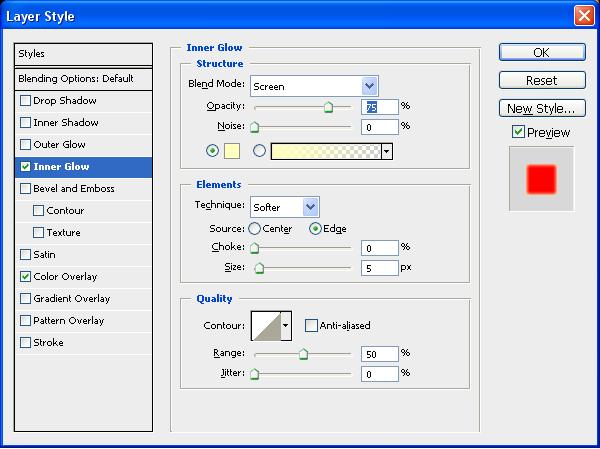
Step 13: Now unhide the copied text layer from earlier and right click and choose “blending options” this will open up a box and when this opens use the settings as shown below, when done click ok:
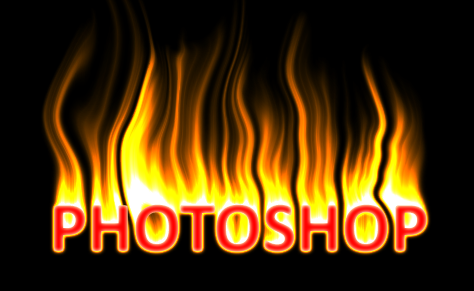
Step 14: And there you go a completed firey text effect:
If you had any problems with this tutorial then please dont hesitate to contact me by either leaving me a comment or send me an email to stevie489@googlemail.com


What can be done if the Wind effect is not available ??
AWSOME! Do you think you could put somthing about square apples? (no really, I was’nt kidding)