How To Create Your Own Unique RSS Icon
This tutorial will teach you some key skills that come in handy when creating different things in Photoshop, it’s main aim is to show you how to create your own unique RSS icon, very useful if you have your own website and you want to make it more unique, easy to understand and follow.
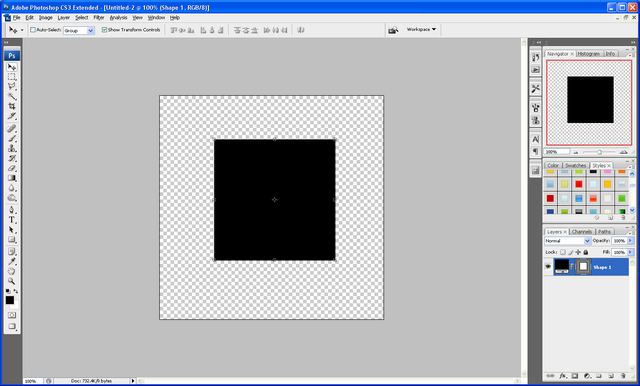
Step 1: Create a new document sized around 500 x 500 and set the background to transparent:
Step 2: Now choose the rectangle tool and hold down shift this will keep the sizes of the sides the same therefore creating a square, make sure this is in the centre of the canvas.
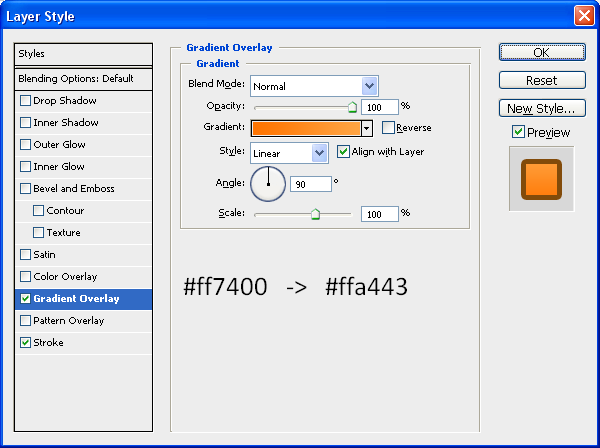
Step 3: Now to get the curved corners you need to refer to my previous tutorial by clicking HERE when you have done this you need to set some blending options (right click on the layer and choose blending options) on the rounded square to get the right colour and effect use the settings below but feel free to play around with the settings a bit to get something unique to you or your website etc…
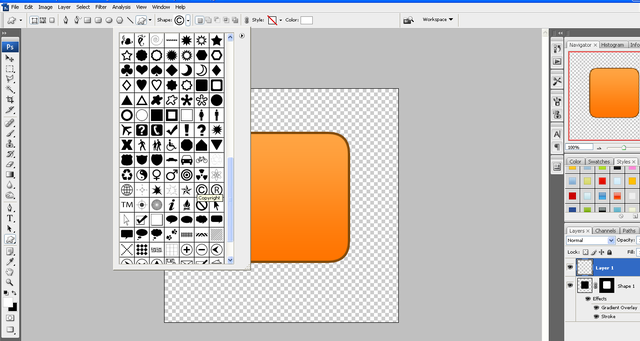
Step 4: Now we need to add the symbol which will create the RSS icon, go to “Custom Shape Tool” and choose the Copyright symbol as shown below:
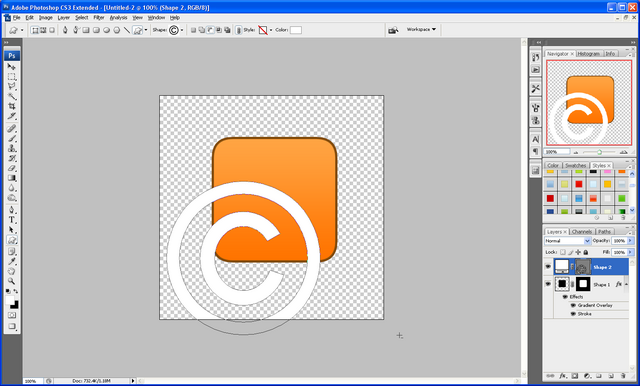
Step 5: Hold down shift and draw the symbol fairly large (don’t worry if it goes off the canvas) and position according to the centre of your square and right click the symbol layer and choose Rasterize Layer, next go to Edit > Transform > Flip Horizontal so that the symbol is backwards.
Step 6: Now select the Rectangular marquee tool and select the outer parts of the symbol and press delete to get rid of them as shown below:
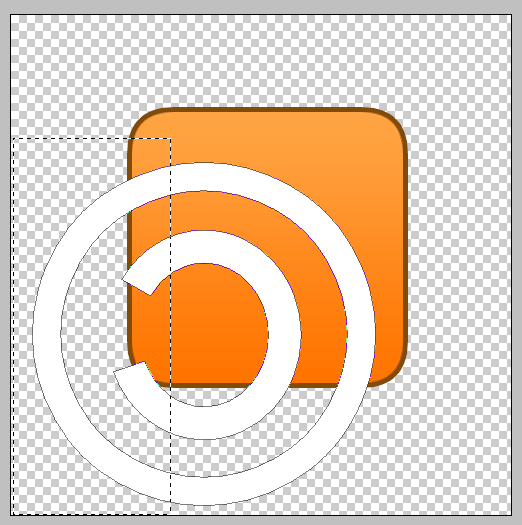

Step 7: When this is done choose the Ellipse Tool and draw a small circle in the bottom left corner to finish off the icon.
Step 8: Now simply right click on the symbol layer and choose blending options and operate the Stroke and change the colour to black and the size to 3px and repeat this for the circle layer to get something similar to below:
Step 9: Now create a new layer (CTRL + Shift + N) now select the pen tool and draw a curved shape across the square and right click and choose make selection as below:
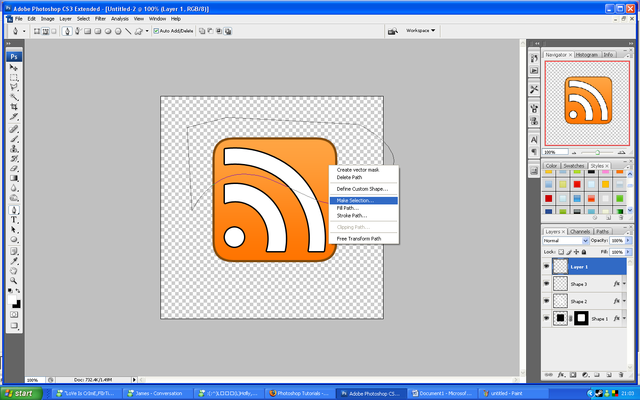
Step 10: Choose the Fill Tool and fill the selection White and then choose the move tool and move to the desired position
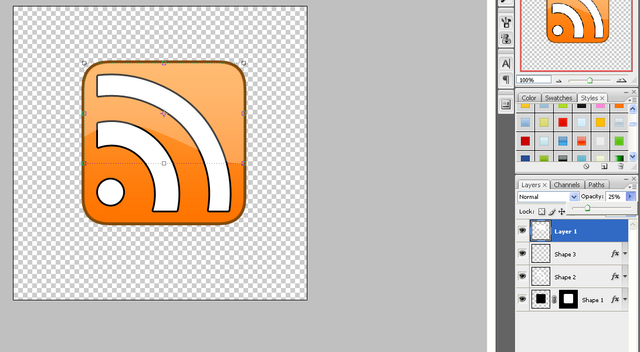
Step 11: With the white filled selection layer still selected CTRL + Click on the layer mask of the square and then press CTRL + Shift + I, and then simply press delete to leave only the white inside the square remaining:
Step 12: Now change the opacity of the selected layer to 25% to give the effect of a shiny surface, and you should end up with the end product as shown:
For added effect you can refer to my Simple Reflection Tutorial and create a reflection of the Icon, and then save it as a PNG file so that when uploaded to a website it will keep its transparent background.
Final Image:
The PSD file is available to download if anybody is interested then please leave a comment asking for it or simply e-mail me at: stevie489@googlemail.com and I will happily mail it back to you
Also if you have any problems with this tutorial or need any help Photoshop then feel free to leave a comment or e-mail me.


[...] لینا ہے۔ اور اگر آپ خود فوٹوشاپ کا استعمال جانتے ہو تو اس آسان ٹیوٹوریل کی مدد سے آپ اپنا آر ایس ایس آئیکن خود بنا سکتے ہیں۔ [...]
[...] y acorde en un cien por cien con nuestro diseño. En Photoshop Tutorials nos explican paso a paso como crear un icono RSS básico para que luego podamos darle la forma, color y efectos que [...]
[...] How To Create Your Own Unique RSS Icon - “This tutorial will teach you some key skills that come in handy when creating different things in Photoshop, it’s main aim is to show you how to create your own unique RSS icon, very useful if you have your own website and you want to make it more unique, easy to understand and follow.” [...]
[...] How To Create Your Own Unique RSS Icon [...]