How To Use Adjustment Layers - The Basics
This tutorial explains what an “Adjustment Layer” is and also the benefits of using one instead of just adjusting it normally, and how to best use it so that you get the desired effect that you want.
First of all what is an adjustment layer?
Well an adjustment layer is a layer that you create in Photoshop where you can apply any adjustments (e.g. Hue/Saturation, Levels etc…) to the image that you want to manipulate.
What are the benefits of an adjustment layer?
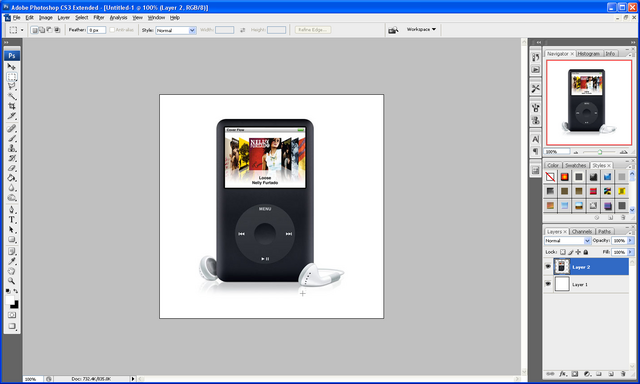
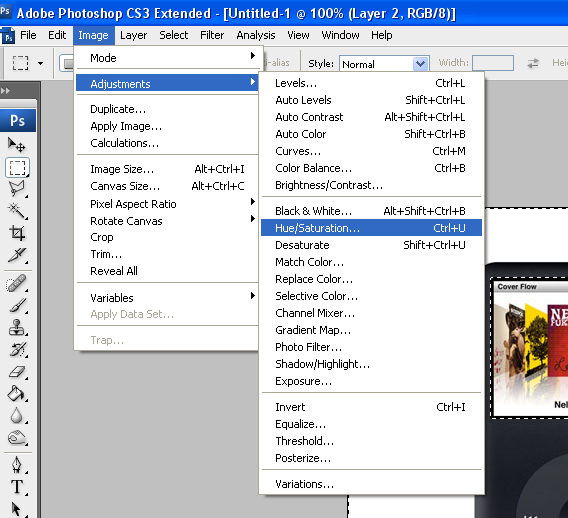
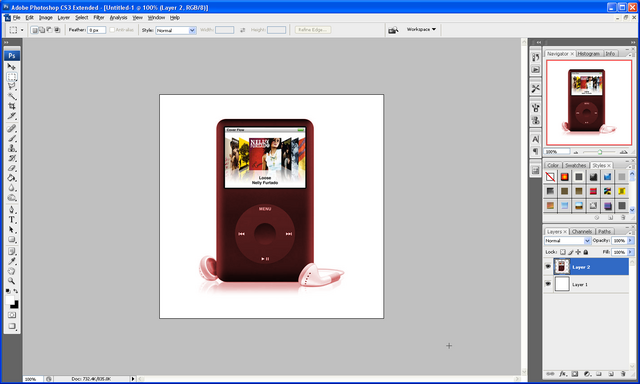
An adjustment layer gives one main benefit when creating your image; say for instance that you wanted to change the colour of this IPod and you were going to use the Hue/Saturation adjustment then you would go to Image > Adjustments > Hue/Saturation and set it to colorize and then play around till you have the colour that you want like below:
IPod:
Adjustment Menu:
Adjusted:
But the problem is that when you get later into your project and you then may decide you don’t like the colour that you set, there is no way in changing it again if you have run out of undo’s, whereas with an Adjustment layer you can do the same Hue/Saturation on a separate layer so it can be deleted later like below, to make an adjustment layer click the black and white circle under the layers window and choose from the options also shown below:
Adjustment Layer Menu:
Adjustment Layer:
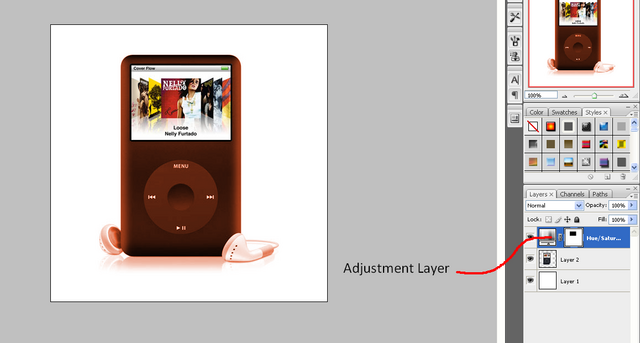
As can be seen the adjustment is on a separate layer so therefore can be deleted or hidden if you decide you want to change the colour again later on in the project or if you want to go back to the original.
If you have had any problems with this tutorial and would like some help then don’t hesitate to contact me either by leaving a comment below or e-mailing me at: stevie489@googlemail.com


