Depth of Field Effect
This tutorial shows you how to make a “Depth of Field Effect” in Photoshop this is where you pick something in an image that you want to “Stand Out” and then blur the background so the focal point of the image changes, really cool effect and can be used on any image.
Step 1: First of all get the picture that you want to edit and find the thing on the image that you want to make “Stand Out” when you have done this choose the Pen Tool and draw around the outline of the chosen object that you want to stand out as shown below:
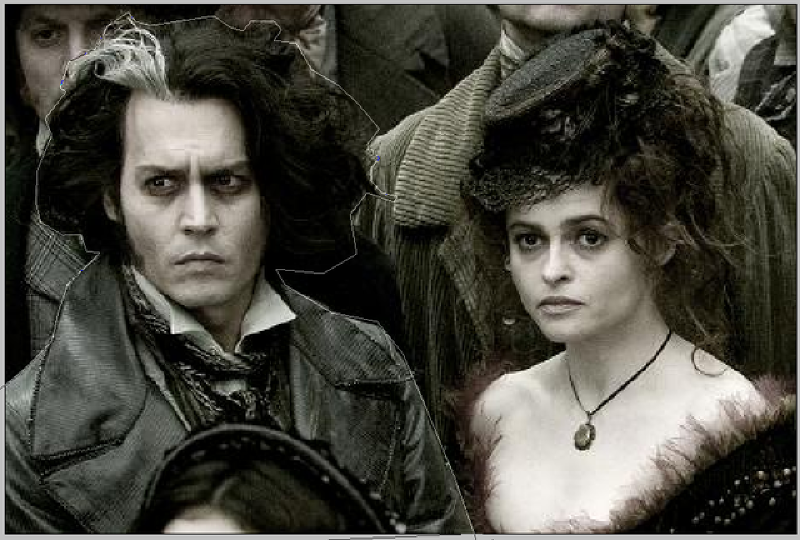
Step 2: When this is done make sure the two ends of the path are connected and you should have the line of “crawling ants” around the selection, if like me there is something in front of your selection that you do not want to include in it then simply hold ALT and draw around the outline of that to subtract it from the selection as below:
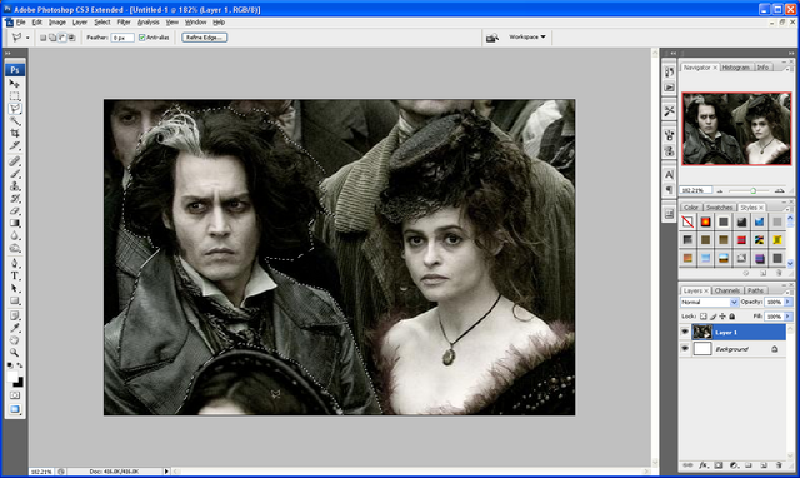
Step 3: When this is done you have your selection ready, now press CTRL + Shift + I which inverts the selection to select everything outside of the original selection, now go to Filter > Blur > Gaussian Blur and set the blur to around 3 pixels (depends on image so adjust it so that it looks ok with your image) and press ok.
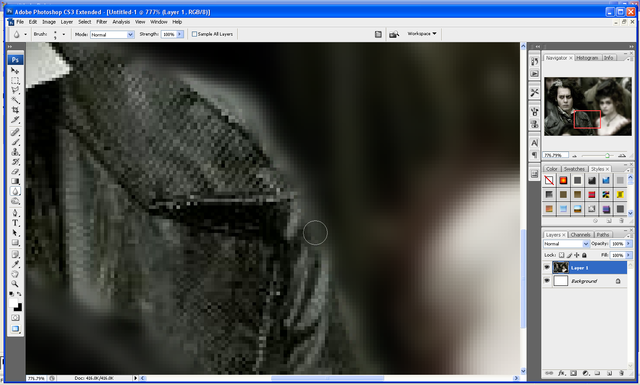
Step 4: Now we are nearly done, to finish simply choose the blur tool (raindrop shaped) and pick a decent brush size and go around the very edge of your selection so that the edges don’t seem to sharp or pointy
And there you go the simple way to make something stand out more from their background below is the comparison from the original image to the finished image:
Finished Image:

Original:


Hey man,
Use Lens Blur instead of Gaussian Blur. It simulates camera blur. I like a lot of your tuts, they give good ideas.
Shaver Design - Print, Identity, and Web Design